Cast Steel Single-Horn Anvil: Round Horn, Stable Base
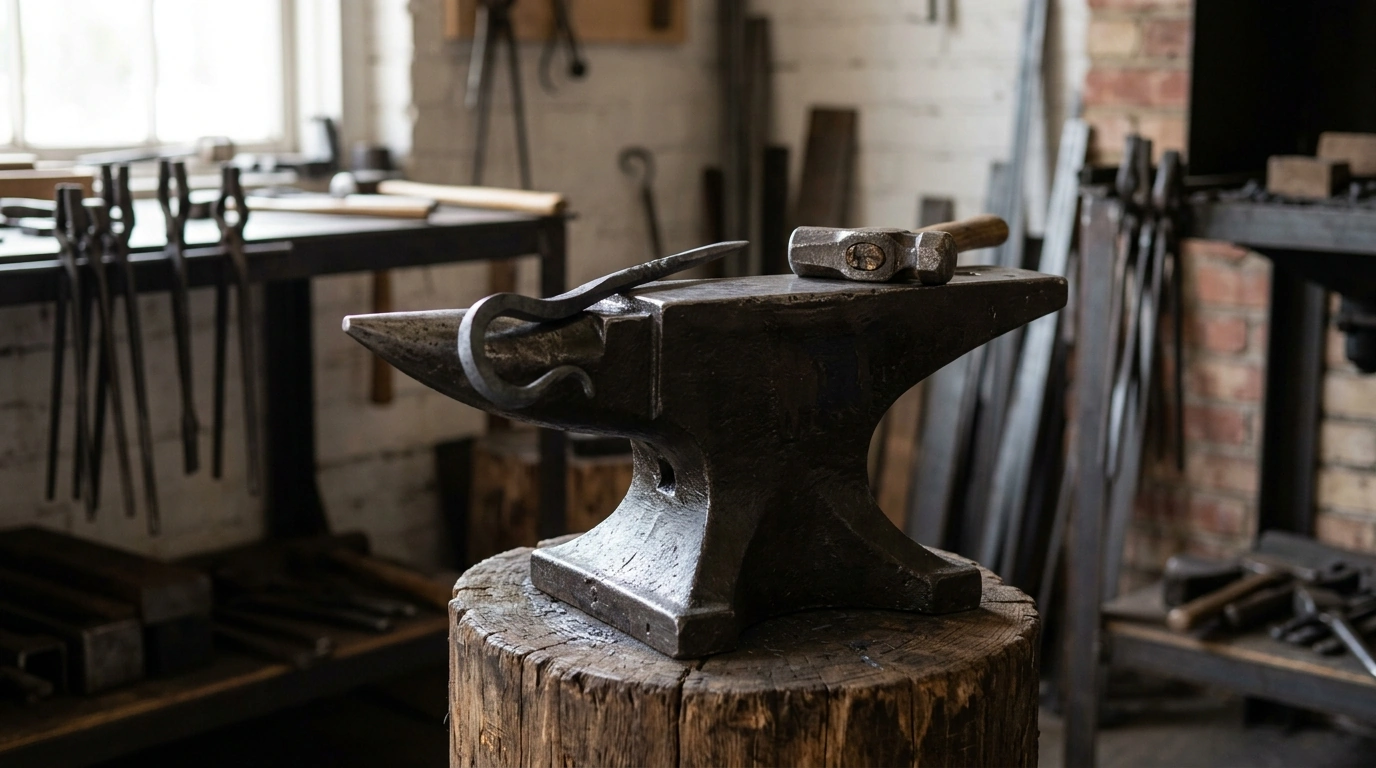
Single Horn Cast Steel Anvil with Round Horn and Stable Base for Metal Work
A dependable anvil is the center of most metalworking setups—useful for drawing out, bending, straightening, flattening, and forming curves. This single horn cast steel anvil pairs a rounded horn for smooth shaping with a stable base that helps reduce wobble during repeated strikes, making it a practical choice for home shops, makerspaces, and small forging benches.
What This Anvil Is Built To Do
- Support common forging and fabrication tasks: flattening stock, dressing edges, bending, and light forming.
- Provide a rounded horn for smooth radii and controlled curves without sharp transitions.
- Offer a stable base that can be set on a stand or sturdy work surface to improve consistency during hammer blows.
- Serve as a compact anvil option for small shops, hobby work, and occasional use where space is limited.
Key Parts and Why They Matter
- Face: the primary flat striking surface used for planishing, flattening, and general forging; keeping it clean helps reduce unwanted marks.
- Round horn: used to form arcs, rings, hooks, and gradual bends; a smoother horn surface helps reduce marring during shaping.
- Body and waist: the mass beneath the face helps absorb shock and return energy; more mass generally improves feel and efficiency.
- Base: the footprint that contacts the stand or bench; a wider, flatter base helps prevent rocking and improves stability.
For everyday shop work, the “feel” of an anvil often comes down to stable support and a clean, usable face. If the base rocks or the face is gritty, even small projects can turn into an exercise in chasing accuracy.
Why Cast Steel Is a Practical Choice
- Durability: cast steel construction is commonly selected for anvils because it can offer a tough working surface for repeated impacts.
- Workability: a solid steel anvil face is suited for hammering, straightening, and forming without quickly deforming under normal use.
- Maintenance-friendly: routine cleaning and light oiling help prevent surface rust, especially in humid shops.
- Good fit for learning: a cast steel anvil is often used by beginners and hobbyists for general-purpose shop work.
For many makers, cast steel hits a practical middle ground: resilient enough for repeated blows and forgiving enough for common “learning moments,” like occasional off-center strikes or light tool contact (with the right precautions).
Matching the Anvil to Common Projects
- Knife and tool shaping: useful for drawing out tangs, flattening bevel transitions, and bending small guards or brackets.
- Decorative metalwork: the horn supports scrolls, curves, and gentle arcs for hooks, handles, and ornamental pieces.
- Garage fabrication: supports straightening flat bar, dressing edges, and shaping brackets when a vise alone is not enough.
- Light repair work: handy as a solid backing surface for peening rivets and aligning small parts.
Common tasks and the best anvil area to use
| Task | Best area to use | Tip for cleaner results |
|---|---|---|
| Flattening and planishing | Face | Use a smooth-faced hammer and keep the face free of scale and grit |
| Bending small stock | Horn and edge transitions | Start bends on the horn, then refine on the face for accuracy |
| Forming hooks and curves | Round horn | Work gradually along the horn to maintain an even radius |
| Straightening bar stock | Face | Mark high spots and strike in controlled, light blows to avoid over-correction |
| Peening rivets | Face (with a backing tool as needed) | Use a rivet set or backing plate to reduce accidental face marks |
Setting It Up for Stability and Comfort
- Choose a solid stand: a hardwood stump, laminated block, or heavy steel stand helps reduce bounce and movement.
- Secure the base: use bolts, straps, or clamps where appropriate; even light shifting can reduce accuracy and increase fatigue.
- Set working height: a common starting point is knuckle height when standing naturally; adjust based on hammer size and work style.
- Add vibration control: rubber pads under the stand or sand-filled bases can reduce noise and vibration in small spaces.
- Keep the work area clear: leave room for hammer swing and safe tool placement to reduce accidental hits.
If the anvil is stable, hammer blows land where intended and the workpiece is easier to control. That usually means prioritizing mass under the base, minimizing gaps between anvil and stand, and tightening down anything that can shift over time.
Care, Cleanup, and Surface Protection
Safety Basics for Metal Work on an Anvil
For a deeper look at eye and face protection basics, reference OSHA guidance here: OSHA — Eye and Face Protection eTool. For community education and blacksmithing resources, ABANA is a strong starting point: Artist-Blacksmith’s Association of North America.
When This Style of Anvil Makes Sense
Shop In-Stock Picks
- Single Horn Cast Steel Anvil with Round Horn and Stable Base for Metal Work
- Is Carsharing the Right Choice for You – Practical Guide Exploring for Smarter, Cheaper, Greener Transportation Decisions
- Porcelain Dinnerware Set
FAQ
What is the round horn used for on a single horn anvil?
The round horn is used to form smooth curves like arcs, scrolls, rings, and gradual bends. Working closer to the tip creates tighter radii, while moving toward the base produces broader curves.
How should an anvil be mounted for the most stable use?
Mount it on a heavy, rigid stand (hardwood block, stump, or steel stand) and secure the base with bolts, straps, or clamps so it can’t shift. Set a comfortable working height (often around knuckle height) and consider vibration control under the stand to reduce movement and noise.
How can the anvil face be kept in good condition over time?
Brush off scale and wipe the face after use, then apply a light oil film to reduce rust in humid areas. Avoid striking hardened tools directly on the face, and store the anvil covered in a dry spot when it’s not in use.
















Leave a comment