Roadside-Ready Car Emergency Kit Checklist for Any Trip
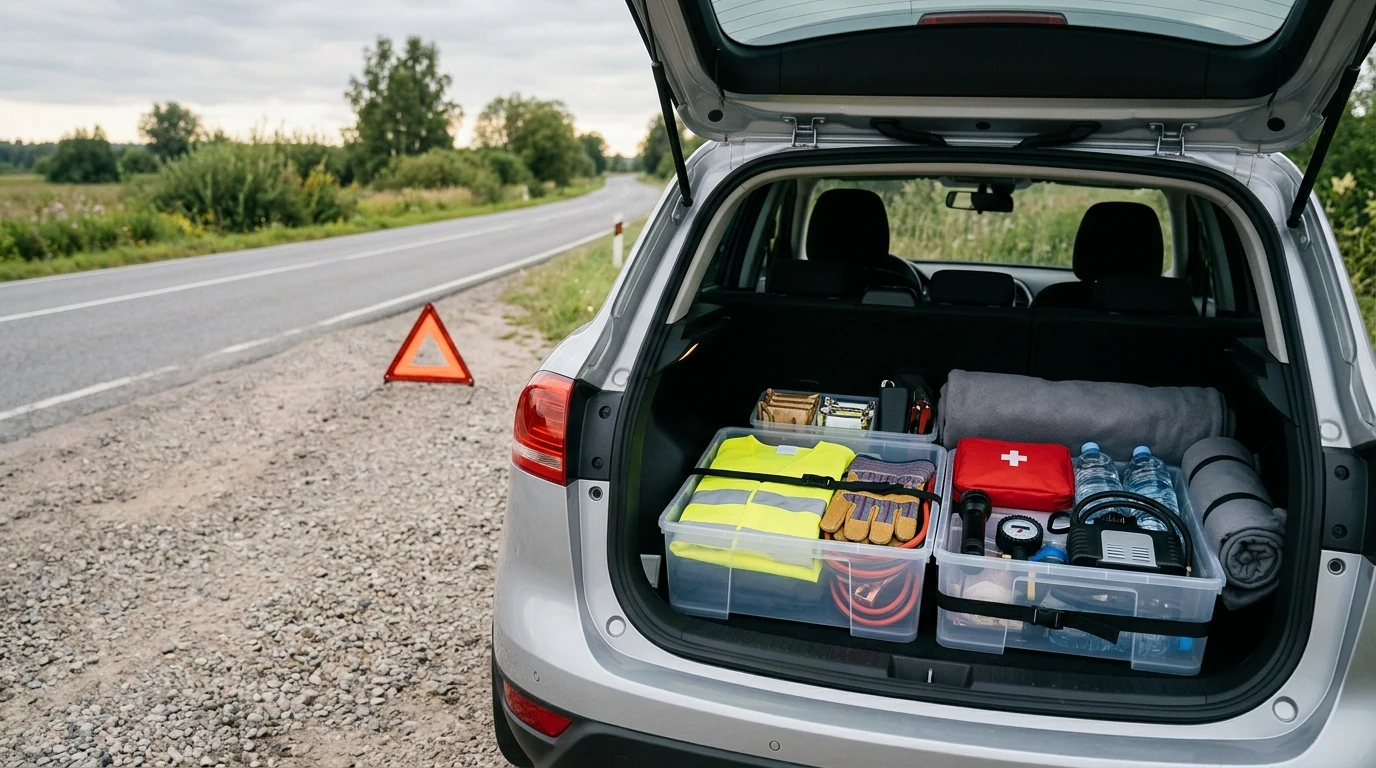
Roadside Ready: Car Emergency Kit Checklist and Safety Plan for Any Trip
A well-stocked car emergency kit turns a stressful roadside problem into a manageable situation. The goal isn’t to prepare for every possible scenario—it’s to cover the most common breakdowns and delays with gear you can find fast, use safely, and restock easily. Below is a practical checklist, a storage method that works under pressure, and a simple safety sequence to follow when something goes wrong.
What “roadside ready” really means
Being “roadside ready” is a mix of supplies and habits. It means planning for everyday problems—then arranging your kit so it’s usable in poor light, bad weather, or high-stress moments.
- Prepared for common scenarios: flat tire, dead battery, overheating, low visibility, minor injuries, and long waits for help.
- Items are reachable and organized: safety/visibility gear should be accessible without unloading the trunk.
- Your kit matches your driving reality: commute vs. long-distance, urban vs. rural, solo vs. family, and your local climate.
- A plan, not just stuff: where to stop, how to make your vehicle visible, and how to call for help safely.
For general preparedness guidance, cross-check your kit against recommendations from Ready.gov and vehicle safety resources from NHTSA.
The essential kit: visibility, communication, and basic tools
Start with the essentials that prevent secondary collisions and keep you connected. Then add the tools that solve the most common problems—tires and batteries.
Visibility
- Reflective triangles or road flares
- High-visibility vest (easy to slip on over a jacket)
- Flashlight or headlamp with spare batteries
Communication
- Fully charged phone
- 12V car charger
- Backup power bank (kept charged)
- Printed emergency contacts, insurance, and roadside assistance details
Basic tools + tire and battery readiness
- Multi-tool, duct tape, zip ties, work gloves, small towel/shop rags
- Tire pressure gauge and portable inflator (or sealant, if compatible with your tires)
- Tire plug kit for tread punctures (only if you’re comfortable using it)
- Jumper cables or a jump starter (practice connecting it safely before you need it)
| Category | Items | Notes |
|---|---|---|
| Visibility | Reflective triangles, vest, flashlight/headlamp | Place where it can be reached quickly (ideally without unloading the trunk) |
| Power & Comms | 12V charger, power bank, contact card | Include roadside assistance number and policy details |
| Tires | Gauge, inflator, sealant/plug kit | Sealant may not work for sidewall damage; check tire and vehicle guidance |
| Battery | Jumper cables or jump starter | Keep jump starter charged; store within recommended temperature range |
| Tools | Multi-tool, duct tape, zip ties, gloves | Gloves reduce injury risk and help with hot/dirty tasks |
Comfort, weather, and wait-time supplies
Delays are common, especially during storms, traffic closures, and holiday travel. Comfort items aren’t “extra” when they prevent heat stress, hypothermia, dehydration, or panic—especially with kids or older passengers.
- Warmth: blanket or sleeping bag, hand warmers, knit cap, spare socks (critical for winter and high elevations).
- Heat and sun: drinking water, electrolyte packets, sunscreen, hat, light blanket for shade.
- Food: shelf-stable snacks (energy bars, nuts) plus a calendar reminder to replace before expiration.
- Hygiene: tissues, wet wipes, small trash bags, hand sanitizer.
- Kids/pets: diapers or kid essentials, pet leash, collapsible bowl, and pre-portioned food/water.
First aid and personal safety essentials
For most roadside incidents, first aid is about managing small injuries and staying calm until help arrives. For first-aid kit content ideas and training resources, the American Red Cross is a solid reference.
- First aid basics: bandages, antiseptic wipes, gauze, medical tape, tweezers, blister care, and appropriate pain relief.
- Personal needs: critical medications when safe to store, spare glasses/contacts, and a small amount of cash.
- Safety items: whistle, seatbelt cutter/window breaker tool, and (where legal and you’re trained) pepper spray.
- Document backup: print/photo of registration and insurance, emergency contacts, and a medical info card (allergies/conditions).
How to store and organize the kit so it’s usable under stress
The best kit is the one you can access in seconds. Organize for speed and clarity—especially at night or in heavy rain.
- Use one main tote plus a smaller “reach-fast” pouch holding triangles/vest/flashlight/phone charger.
- Keep heavy items low and secured so they don’t slide during hard braking.
- Separate by module: quick-safety, tire/battery, first aid, weather/comfort.
- Label pouches and place a one-page checklist on top.
- Plan for temperature swings: extreme heat/cold can damage batteries, aerosols, and some medications—swap seasonally when needed.
What to do during a breakdown: a simple roadside safety sequence
Supplies help most when paired with consistent actions. Run this sequence the same way every time so it becomes automatic.
Printable checklist and restock plan
Helpful resources (digital downloads)
- Roadside Ready – Car Emergency Kit Guide & Checklist (digital download)
- Is Carsharing the Right Choice for You – Practical Guide
FAQ
What should be in a car emergency kit at minimum?
At minimum, cover visibility (triangles/vest/flashlight), power and communication (charger/power bank), tire and battery basics (inflator and a jumper solution), simple tools, and a small first aid kit. Then tailor for weather and personal needs.
How often should a car emergency kit be checked or replaced?
Do a quarterly check and always review before road trips. Replace expired snacks and supplies, test flashlights, recharge jump starters, and rotate seasonal items as temperatures change.
Where should reflective triangles or flares be placed during a breakdown?
Follow the manufacturer instructions and local guidance, and prioritize your personal safety when placing them. In general, they’re set behind the vehicle at a safe distance to warn approaching traffic and improve visibility.
















Leave a comment